Fine Art Photography
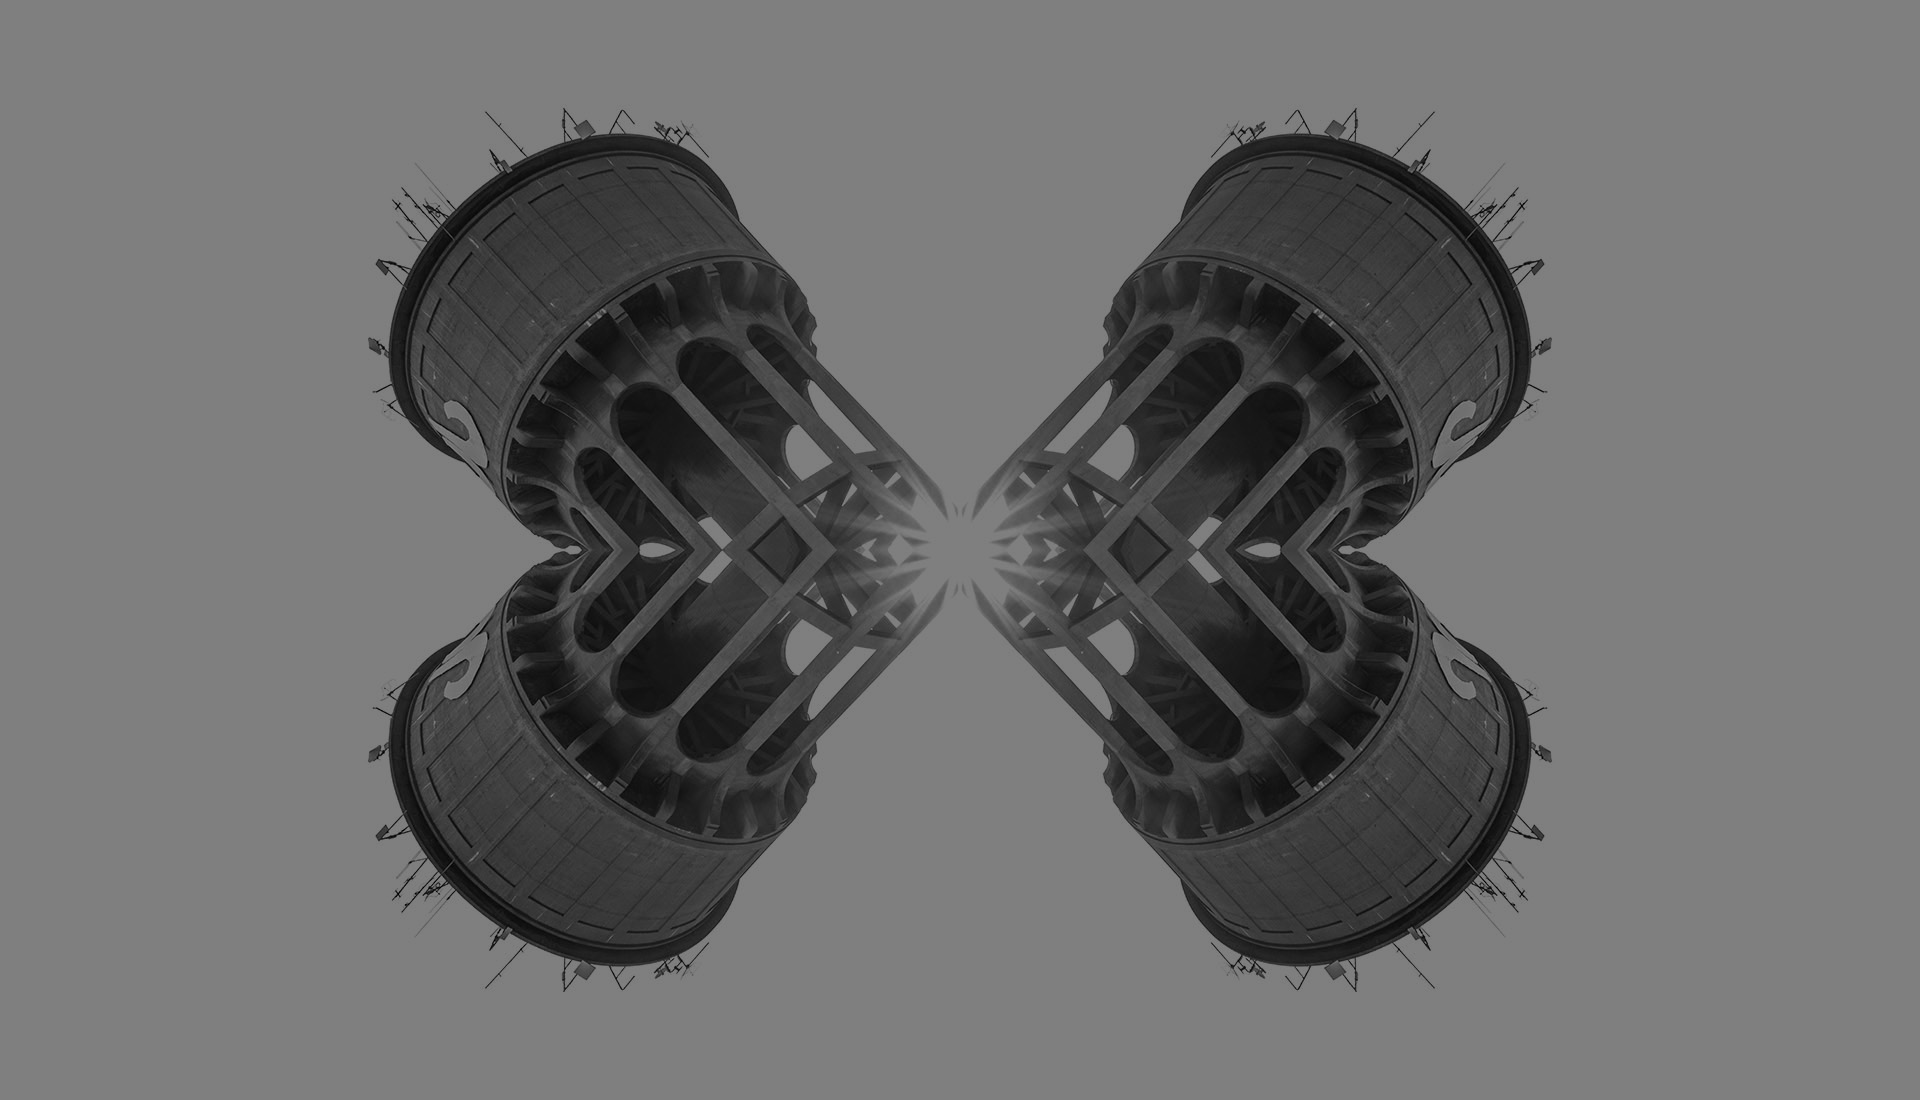
Fine art photography can not be defined or assume a universally defined meaning. It is rather seen as an expression of the artist or cameraperson in accordance with his/her creative vision through the use of any photographic categories. This means that the photographer can use one or multiple categories and styles of photography to create and present something relatively new and original – as art.
Can it be Defined as Fine Art?
In a historical sense, the most common forms of fine art are painting, sculpture, music and literature as well as the performing arts as theatre. Contemporary fine art, however, is extended to additional art forms such as photography, film, production/editing, design, printmaking and the conceptual arts. Essentially fine is classified as an art form that is practised for its beauty, context or intellectual consistency. It is creative, it emanates from the artist and the concept or idea he/she is studying in observation. The sole purpose of art is simply to exist. This photographer or cameraperson is an artist so whatever is recorded isn’t necessarily for an explicit purpose. Rather, it is about how the subject is used to make a statement that challenges issues bigger than the image itself. The artist’s conceptual vision is fundamental to the final photo.
Techniques to Improve your Fine Art Portraiture:
1. Create Form for the Eye:
Negative space can be created by moving the subject’s arms and legs. This can also create line shapes and interesting curves around the body. Such simple design elements help the viewer’s eye to move around the frame. Additionally, the model captured as if doing something or in motion will appear slimmer, much better than just having a still model.
2. Push the Chin away from the Neck:
Ask your model to tilt his/her head back, lifting the chin and pushing it away from the neck. This will help the subject to look alert and powerful while avoiding a double chin.
3. Arch the back:
The lifestyle portrait highlights certain aspects of the subject’s lifestyle and is often used in commercial photography as an advertising tool.
4. Create Motion and Reaching:
Have the model actually act out a motion, this makes the shot more believable, interesting and engaging. To capture motion, the body must comfortably and realistically enact movement.
5. Drop the Shoulders:
The neck automatically elongates when the shoulders are dropped. High shoulders indicate tenseness and tightness. Ask your model to relax and drop his/her shoulders for a tranquil and natural look. With the shoulders dropped, the pose looks elegant and encourages exceptional posture.
6. Tilt back the Head:
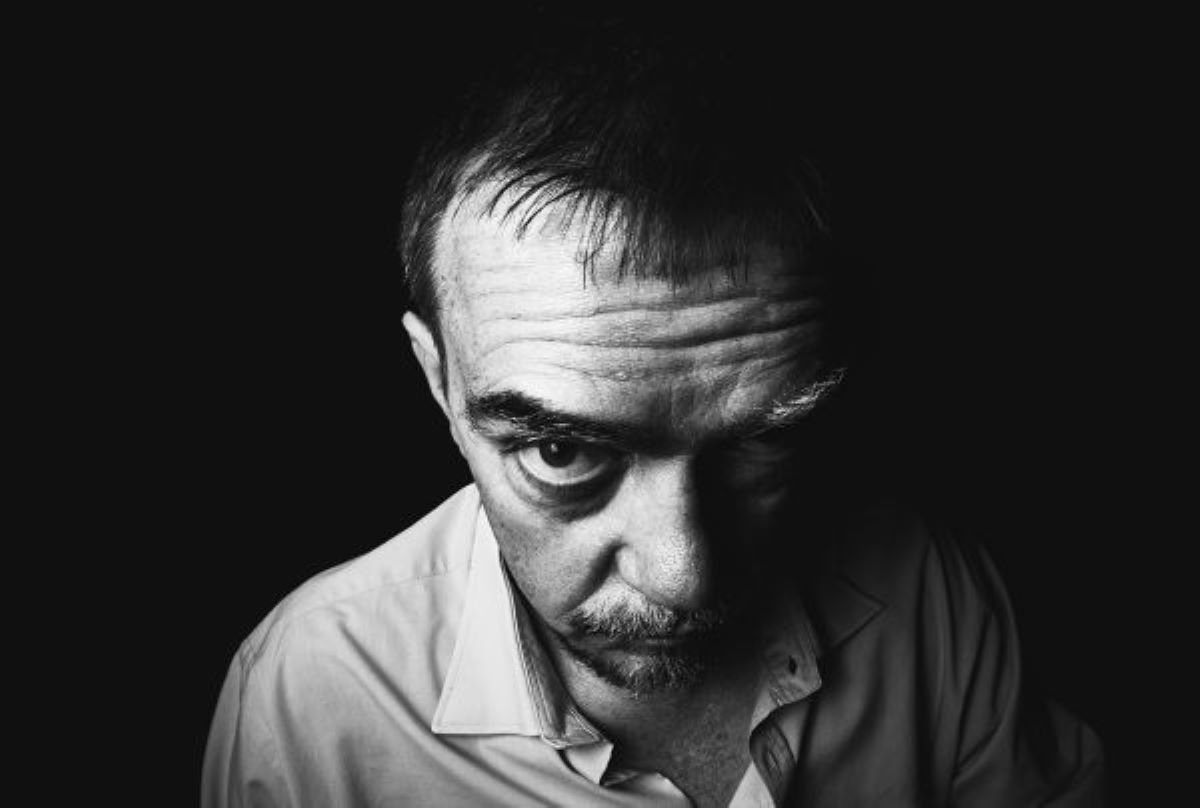
This can help the model to look engaged in the scene, rather than placed there awkwardly. Defined jawlines and elongated necks are achieved by tilting the model’s head back so that he/ she is seemingly looking up. The audience is left wondering what the subject is looking at and instils questioning.
7. Pull back the Arms:
By simply drawing back the model’s arms, tension and implied motion are added to the image. Instead of having a plain shot of a still model. Having your subject pull his/her arms back results in a more dynamic pose and creates a story to be told.
8. Create Shape:
The model will definitely feel more active when twisting the body, this also creates more tension and shape in the image. You should plan ahead your desired shape outcome since the subject comes across as more engaged when an intentional shape was set.
When positioning your subject, it would work in your favour to start with a simple concept. You can even simplify the process by asking the subject to mirror you, let them familiarise themselves with each part of the process before creating and developing the final pose. Get in touch today!
We are a Creative Content Production Agency specialising in Video Production, Photography, Graphic Design, eLearning Development, Web Design, Animation and Creative Consultation. | info@oliverkarstel.co.za | www.oliverkarstel.co.za | IG.com/oliverkarstel
