Architecture Photography: A Breakdown
Architecture photography is an art that can only be mastered by building on prior knowledge of the subject and with insight to uniquely approach the situation at hand. From exploring angles, playing with and manipulating lines to finding the right lighting, no matter what type of building you’re shooting architecture is challenging unless you stick with it. So use these tips to play around for yourself.
Architecture Photography Tips
LIGHTING IT UP:
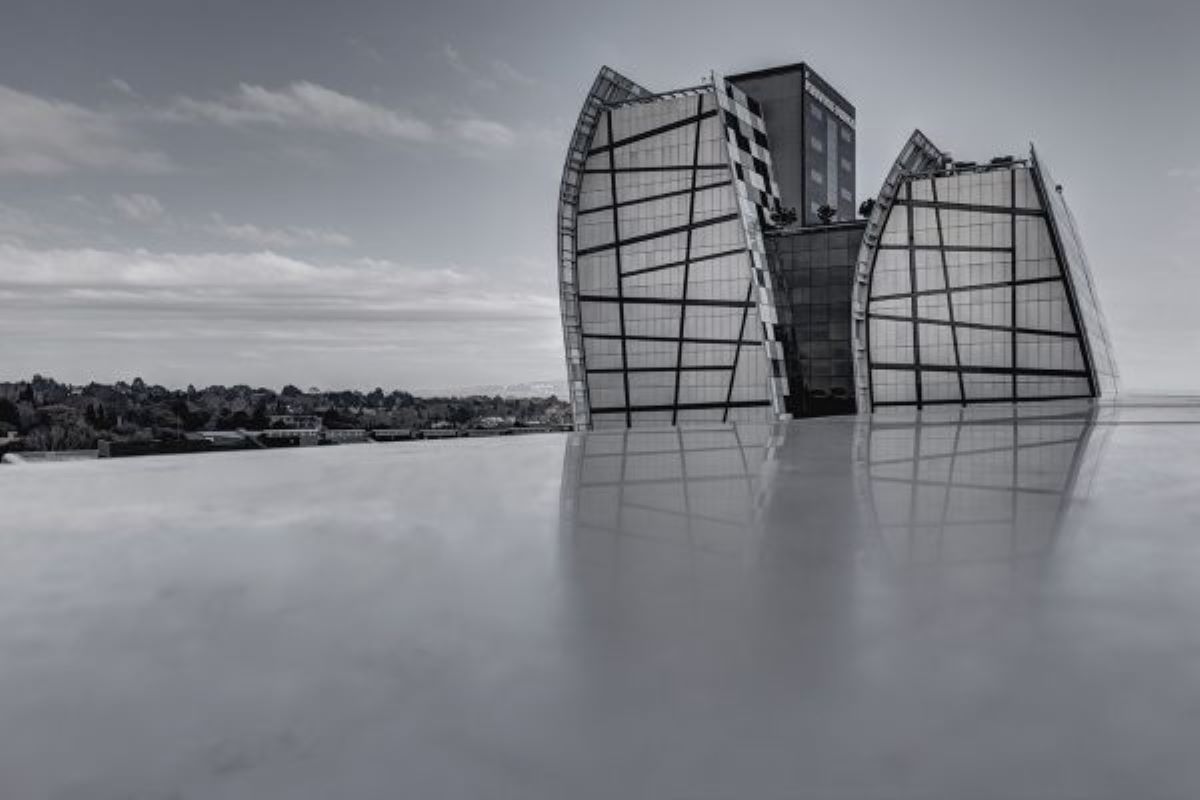
Getting the right shot predominantly depends on having the right lighting because it sets the mood for the image you’re creating. Pre-plan your natural light. The time of day also contributes to this – whether you’re shooting silhouettes, long exposures or even reflective buildings contrasted by a bright blue sky the time of day has a huge impact and influence on the mood you’re re-creating. Understanding what the sun will do to the subject and how the weather affects it is also an important step in capturing the perfect image. Also, understanding sunlight will allow you to adjust your position to satisfy your design principles. Unless you have the world’s largest flash, you’ll want to use the sun as your primary source of light. Natural light is exciting because it is ideal for any type of shoot you’ll do – as long as you know how to use it correctly. Shooting architecture with the sun on your side will light up the building nicely but you can also shoot against the sun (from behind the building) for a more interesting feel. So play around with effects such as lens flairs or silhouetting the structure against a high contrast sky.
If the sun is used behind the building or you have low-light conditions like cloudiness, you’d probably end up with a silhouette or an overexposed sky. With the sun facing the subject of the artwork – the building or structure – or if it is lit from the side, the building could be balanced with ambient light or by adjusting the exposure. Naturally, this is about directional light so keep in mind that you shouldn’t be shooting midday. Instead, try to capture the perfect moment in the morning or evening.
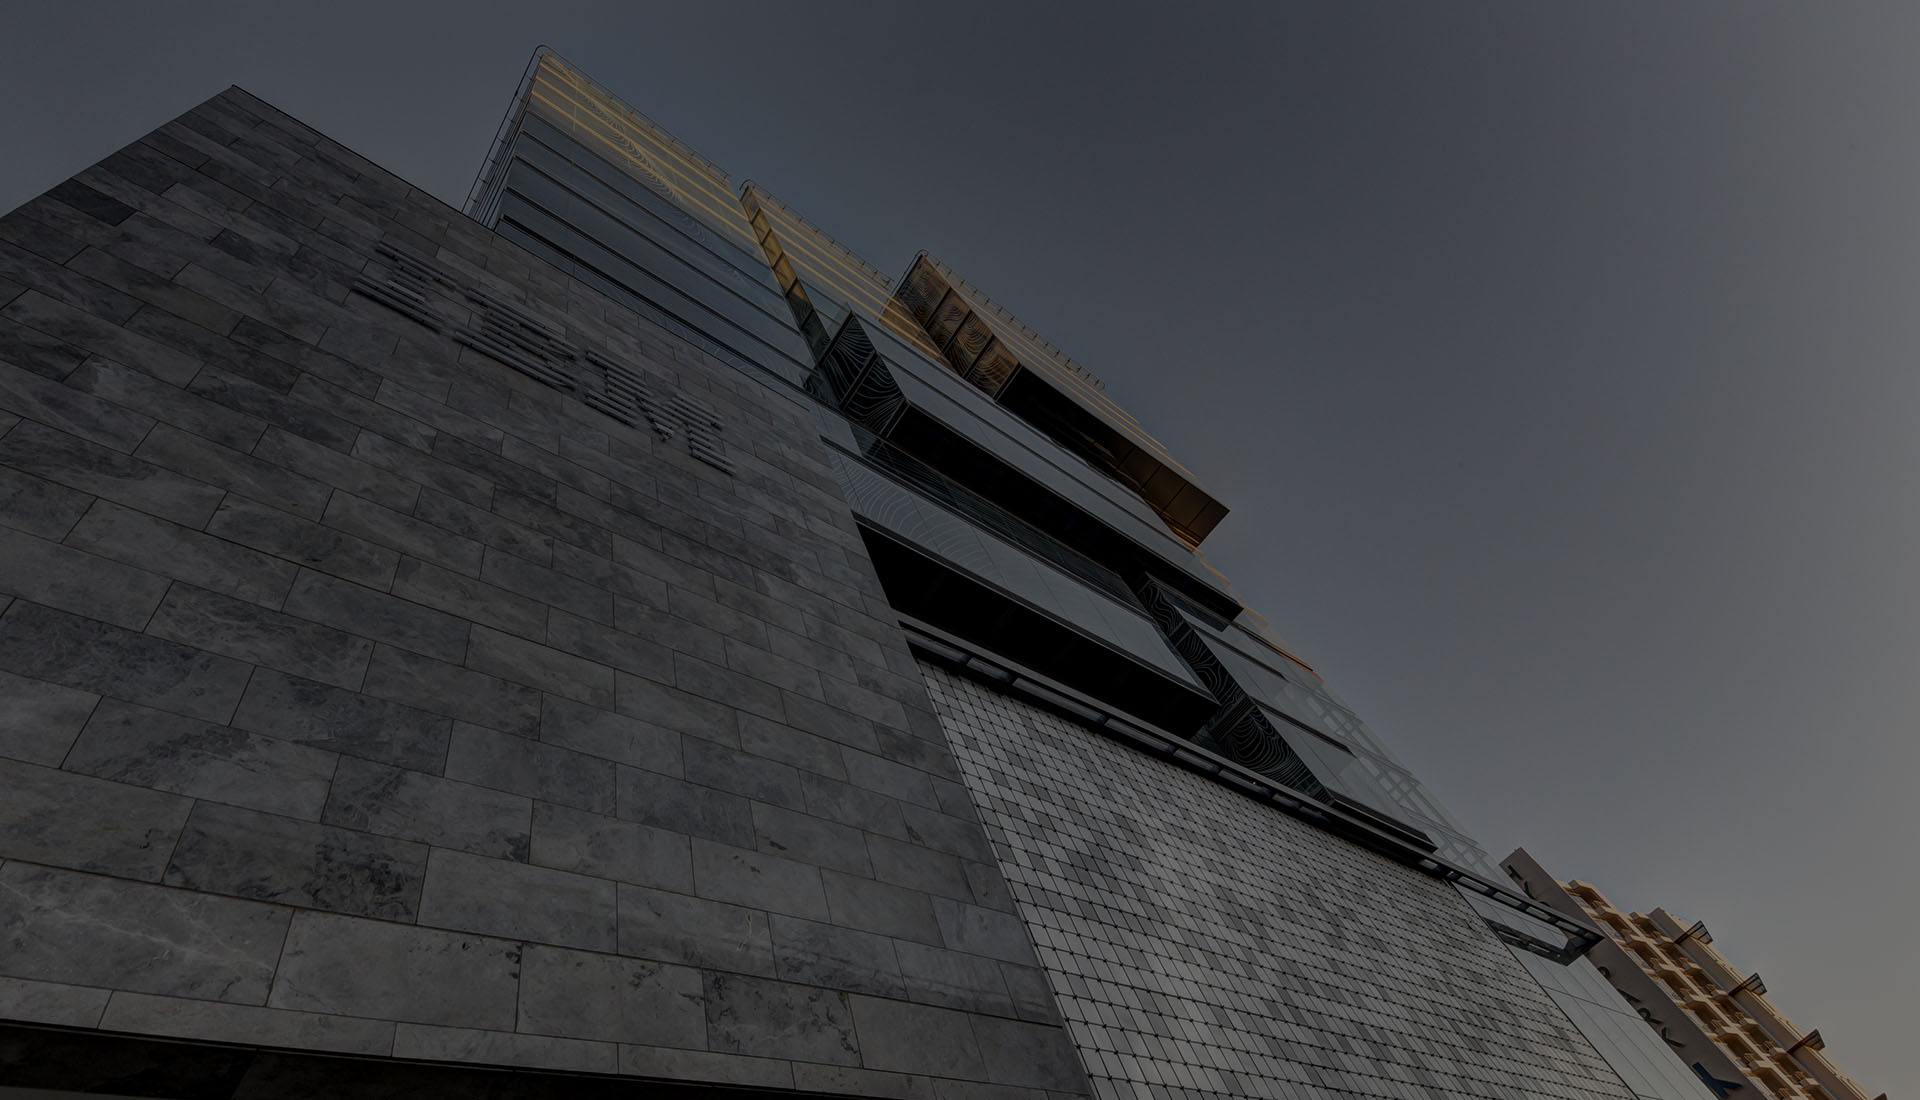
INVITE DIFFERENT ANGLES:
Shooting a building at eye level really puts the structure and size of the building into perspective as it is one of the most common and technically correct ways to capture its essence. Taller heights will minimise distortion, by looking down on the building you emphasise and bring attention to, not only the shape of the building, but also the features that are designed to flow with the architectural intention. When you look up at a building, the structure looks intense and dominating. Artistically, you are able to use any angle to your advantage when playing with design elements in photography, look around the sides, not just from above or below, get a real feel for the construction and its composition.
THE PHOTOGRAPHER’S ACCESSORIES:
Using Polarisers and a Tripod
Using a Polarising filter on your camera has a much bigger impact on your image than you might think and it’s super inexpensive. The filter is used to control reflective light so if there is water or glass in the image, you can control it more easily as it reduces the natural light in the image so it doesn’t blow out in the final product (i.e. in pre-production). Remember to remove the polariser when you move on from exteriors to the interior or if you’re shooting at night.
The basic function of a tripod is to have the camera as steady as possible to reduce camera shake and it can also be used to play around with longer exposures. Using a tripod could be very beneficial to the shot you have in mind. Use a narrower aperture like f/8 or even a higher f-stop, it keeps the details of the building in focus and keeps the image nice and sharp. A wide-angle lens is a very useful tool to have when shooting a moderately tall building.
So, you’ll never fully understand until you go out and try it for yourself. This is a very playful but sometimes painful process that can only be fully mastered with experience. Even if you’re bad at it initially and the images don’t necessarily turn out as planned, go home and rethink what you’ve done then return to it again and again, the perfect shot you had in mind will soon be in your grasp. Get in touch today!
We are a Creative Content Production Agency specialising in Video Production, Photography, Graphic Design, eLearning Development, Web Design, Animation and Creative Consultation. | info@oliverkarstel.co.za | www.oliverkarstel.co.za | IG.com/oliverkarstel